


Covering an exhaust manifold is crucial for reducing under hood temperatures and protecting engine components. By implementing this simple yet effective step, you can ensure optimal performance of your vehicle. The process involves gathering necessary tools and materials, preparing the Engine exhaust manifold, installing the heat shield or wrap, checking for proper installation, and making final adjustments. Each step plays a vital role in maintaining your engine’s health and longevity.
Step 1: Gather Necessary Tools and Materials
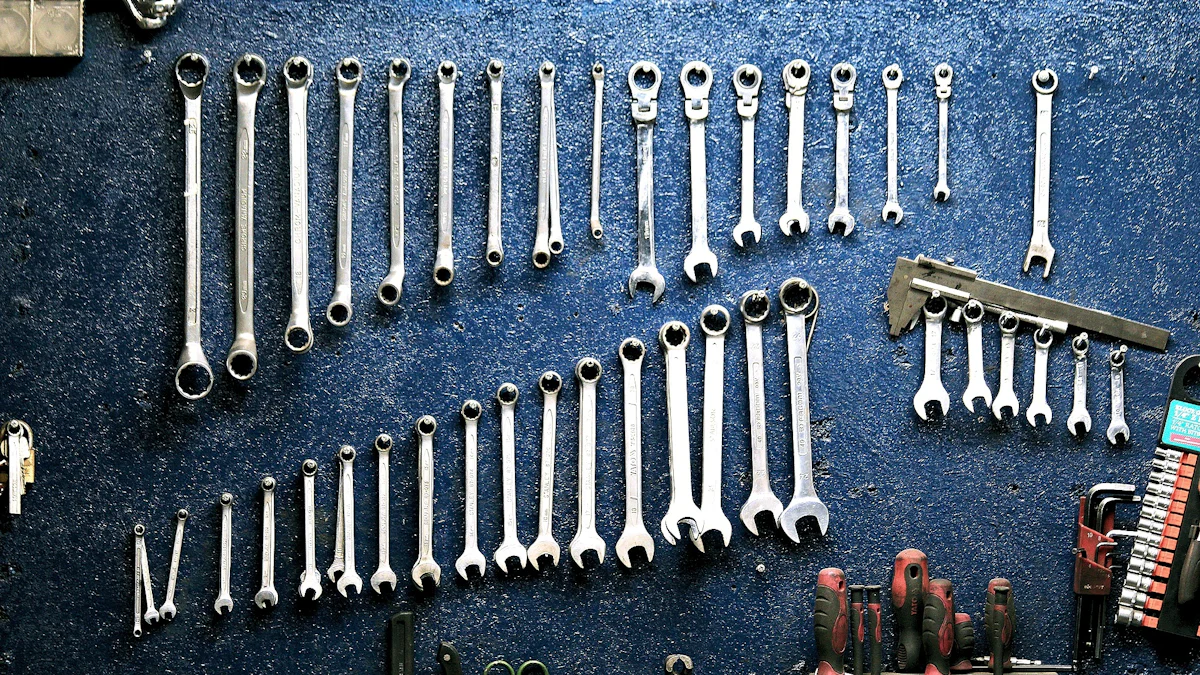
Tools You Need
Wrenches and Sockets
To begin covering your exhaust manifold effectively, start by ensuring you have the necessary tools at hand. Wrenches and sockets are essential for securing the heat shield or wrap in place securely.
Heat Shield or Wrap
When it comes to protecting your engine components from excessive heat, a heat shield or wrap is indispensable. This tool acts as a barrier, preventing heat transfer and maintaining optimal temperatures within the engine bay.
Safety Gear
Prioritize your safety while working on your vehicle by equipping yourself with safety gear. Items such as gloves and goggles can protect you from potential hazards and ensure a safe working environment.
Materials You Need
Heat Shield or Wrap
The primary material required for this task is the heat shield or wrap itself. Choose a high-quality product that suits your vehicle’s specifications for effective heat insulation.
Fasteners
To secure the heat shield or wrap in place, you’ll need fasteners. These small but crucial components ensure that the cover remains stable and provides consistent protection to the exhaust manifold.
Cleaning Supplies
Before installation, make sure to clean the surface of the exhaust manifold thoroughly. Gather cleaning supplies such as degreasers and cloths to remove any dirt or residue that could affect the adhesion of the heat shield or wrap.
By having these tools and materials ready, you’re taking proactive steps towards enhancing your vehicle’s performance and longevity. Proper preparation ensures a smooth process when covering your exhaust manifold, ultimately benefiting both your engine’s health and overall driving experience.
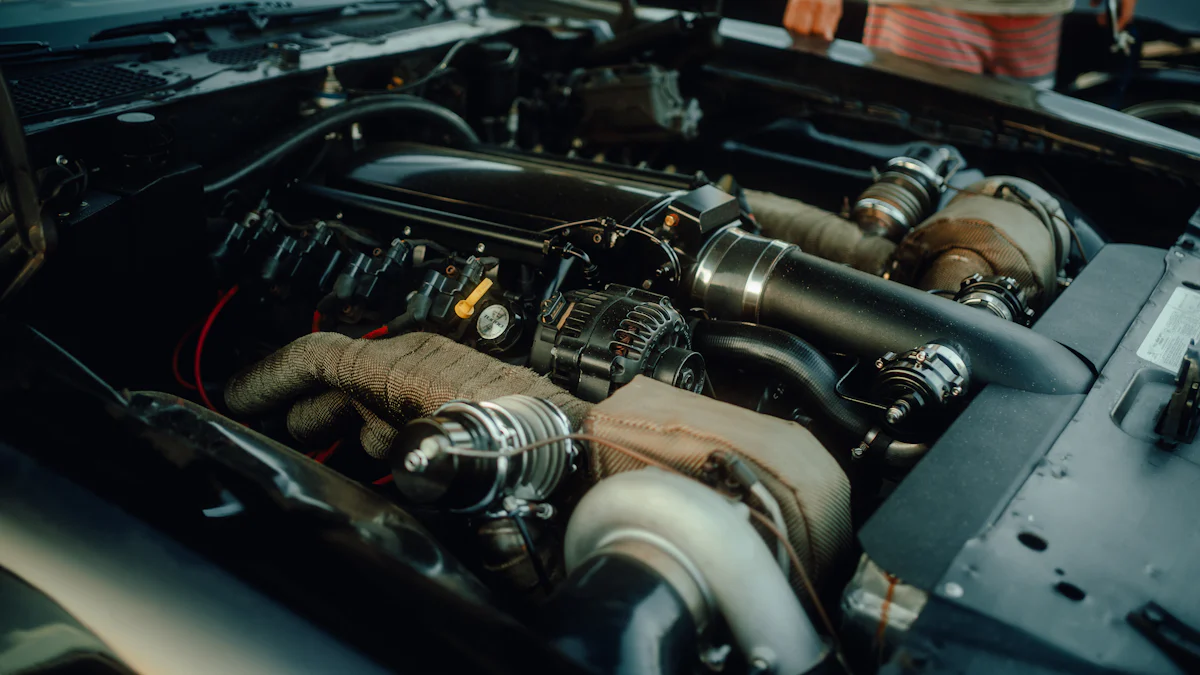
Step 2: Prepare the Exhaust Manifold
When it comes to preparing the exhaust manifold for covering, there are essential steps to follow that will ensure a successful installation. By starting with a clean surface and marking the necessary areas, you set the foundation for effective coverage that will benefit your engine in the long run.
Clean the Surface
To begin, removing dirt and grease from the exhaust manifold is crucial. This step not only ensures proper adhesion of the heat shield or wrap but also helps in maintaining a tidy working environment. Consider bead or sandblasting if you plan to paint it with high-temperature paint. After cleaning, make sure to eliminate all grit from inside the manifold to prevent any debris from affecting its functionality.
Inspecting for damage is equally important during this stage. Take time to assess the condition of your cast iron exhaust manifolds. Look for any signs of wear, cracks, or corrosion that may impact the effectiveness of the cover. Addressing these issues before installation can prevent future complications and maintain optimal performance.
Mark the Areas
Identifying bolt locations on the exhaust manifold is a key aspect of preparation. By clearly marking where each bolt should be placed, you streamline the installation process and ensure a secure fit for the cover. This step minimizes guesswork and promotes precision when securing the heat shield or wrap in place.
Planning the coverage involves strategizing how best to protect your engine components. Consider how far you want the cover to extend and which areas require maximum insulation. Whether you opt for a full coverage approach or target specific hotspots, having a clear plan in mind allows for efficient installation and comprehensive protection.
By following these steps diligently, you pave the way for a successful cover exhaust manifold project that enhances your engine’s performance and longevity.
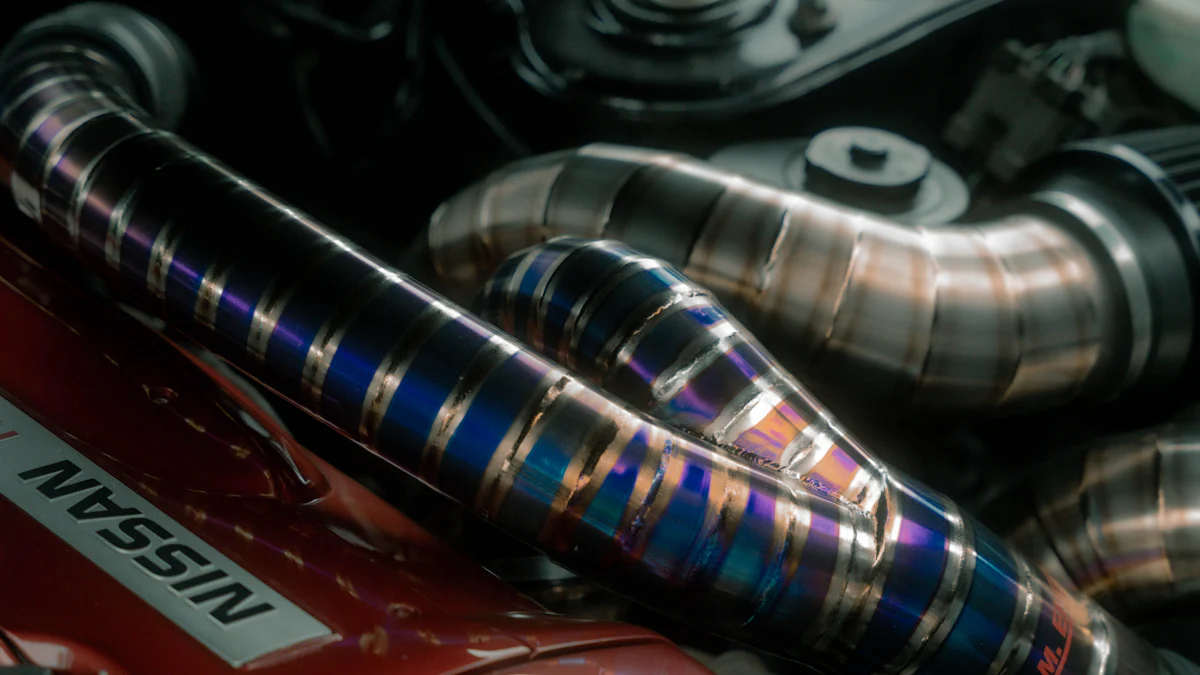
Step 3: Install the Heat Shield or Wrap
As you proceed to install the heat shield or wrap onto your exhaust manifold, it’s essential to ensure a precise and secure fit for optimal performance. Proper installation of the shield plays a crucial role in maintaining engine efficiency and preventing heat-related issues.
Position the Heat Shield
Align with Bolt Holes
Begin by aligning the black header wrap with the designated bolt holes on your exhaust manifold. This alignment is critical to guarantee a snug and effective fit that maximizes heat retention within the system. Ensuring proper alignment sets the foundation for successful installation and long-term protection.
Ensure Proper Fit
Once aligned, focus on confirming that the stainless steel exhaust wrap fits securely around the manifold. A tight fit is necessary to prevent any gaps that could lead to heat leakage or inefficient insulation. By verifying the fit at this stage, you set yourself up for enhanced engine performance and longevity.
Secure the Heat Shield
Tighten Bolts
After positioning and aligning the steel exhaust wrap ties, proceed to tighten the bolts securing the shield in place. Tightening these bolts ensures that the shield remains stable during operation, preventing any potential movement or displacement due to engine vibrations. Securely fastening all bolts contributes to a reliable and durable installation.
Check for Stability
Once all bolts are tightened, conduct a thorough check to assess the stability of the installed heat shield or wrap. Confirm that there is no wobbling or loose components that could compromise its effectiveness. Checking for stability at this stage allows you to address any issues promptly, ensuring consistent protection for your exhaust manifold.
Incorporating these steps into your installation process guarantees a well-fitted and secure exhaust wrap that effectively shields your manifold from excessive heat. By following these guidelines diligently, you can optimize your vehicle’s performance while safeguarding critical engine components.
Step 4: Check for Proper Installation
Inspect the Coverage
To ensure complete coverage of your exhaust manifold, start by visually examining the installed heat shield or wrap. Look closely at every corner and edge to guarantee that the entire surface is adequately protected. By conducting a thorough inspection, you can identify any areas that may be exposed to heat and address them promptly.
Ensure Complete Coverage
Confirm that the heat shield or wrap extends across the entire exhaust manifold surface without leaving any gaps. A comprehensive covering is essential to prevent heat from escaping and reaching other engine components. By verifying complete coverage, you safeguard your engine against potential damage caused by excessive temperatures.
Look for Gaps
Pay attention to any spaces or openings between the shield or wrap and the exhaust manifold. Even small gaps can compromise the effectiveness of the insulation, allowing heat to escape and impact nearby parts. Addressing these gaps promptly ensures consistent protection and optimal performance of your engine.
Test for Stability
After confirming adequate coverage, it’s crucial to assess the stability of the installed heat shield or wrap. Testing for stability involves checking the secureness of its attachment and ensuring that it can withstand engine vibrations during operation.
Wiggle the Shield
Gently wiggle the shield to evaluate its firmness and resistance to movement. A stable shield should remain in place without shifting or loosening under slight pressure. By wiggling the shield, you can determine if any bolts require further tightening to enhance its stability.
Re-tighten if Necessary
If you notice any signs of instability during testing, take immediate action to re-tighten the bolts securing the heat shield or wrap. Tightening loose bolts reinforces the shield’s attachment, preventing potential dislodgment while driving. Regularly checking and re-tightening as needed ensures continuous protection for your exhaust manifold.
By following these steps diligently in checking for proper installation, you guarantee a well-covered exhaust manifold that effectively shields your engine from excessive heat. Maintaining complete coverage and stability is key to maximizing performance and prolonging the lifespan of critical engine components.
Step 5: Final Adjustments and Maintenance
Make Final Adjustments
Ensure Tight Fit
To ensure the longevity of your exhaust manifold cover, it is crucial to guarantee a tight fit. This step involves checking the alignment and security of the heat shield or wrap to prevent any potential heat leaks. By verifying that the cover fits snugly around the manifold, you enhance its effectiveness in maintaining optimal temperatures within the engine bay.
Double-check Bolts
Double-checking the bolts securing your heat shield is essential for maintaining its stability. By inspecting each bolt carefully, you can identify any loose fasteners that may compromise the cover’s integrity. Tightening any bolts that show signs of weakness ensures a secure attachment, preventing unwanted movement during vehicle operation.
Maintain the Heat Shield
Regular Inspections
Regular inspections are key to sustaining your exhaust manifold cover’s performance over time. By routinely examining the condition of the shield or wrap, you can detect any signs of wear or damage early on. Inspecting for tears, gaps, or loose components allows you to address issues promptly and maintain consistent heat protection for your engine.
Clean as Needed
Cleaning your heat shield as needed is essential for preserving its functionality and appearance. Use mild cleaners and a soft cloth to remove dirt, grease, or debris that may accumulate on the surface. Regular cleaning not only enhances the cover’s aesthetic appeal but also prevents contaminants from affecting its insulating properties.
By making final adjustments and prioritizing regular maintenance for your exhaust manifold cover, you ensure optimal performance and longevity for your engine components.
In conclusion, by following the five simple steps outlined in this guide, you can effectively cover your exhaust manifold and reap the benefits of reduced under hood temperatures and enhanced engine protection. Emphasize the importance of regular maintenance to ensure optimal performance and longevity for your vehicle’s engine components. Remember, a well-covered exhaust manifold not only improves efficiency but also contributes to a smoother driving experience. Take charge of your vehicle’s health today with these easy-to-follow steps.
Post time: Jun-21-2024